Monday, August 23, 2010

Beading Frenzy

It's not really related to my house, but I promised my mom I would share with her the pictures of the necklaces/earrings I made this weekend. Carrie came over on Saturday, and we got our Crafty-Geekness on, and made some jewelry. Carrie finished a necklace her sister had asked for long ago, as well as another necklace using some of her beads and some of mine--both turned out lovely, though I didn't think to snap some pictures of them. I made three necklaces/earring sets, and then felt like making more on Sunday.
The first set I made, I used some lovely rose-coloured glass beads, as well as some mirrored clear seed beads and some silver-plated beads, with a gemstone pendant (quartz?) . I really like how it turned out.
Next I decided to finally do something with the jade-coloured stone beads I had picked up several years ago. I mixed in some sea foam coloured glass beads, as well as some more mirrored clear seed beads. I'm not sure if I'll wear it much, but it's a nice addition to my jewelry.
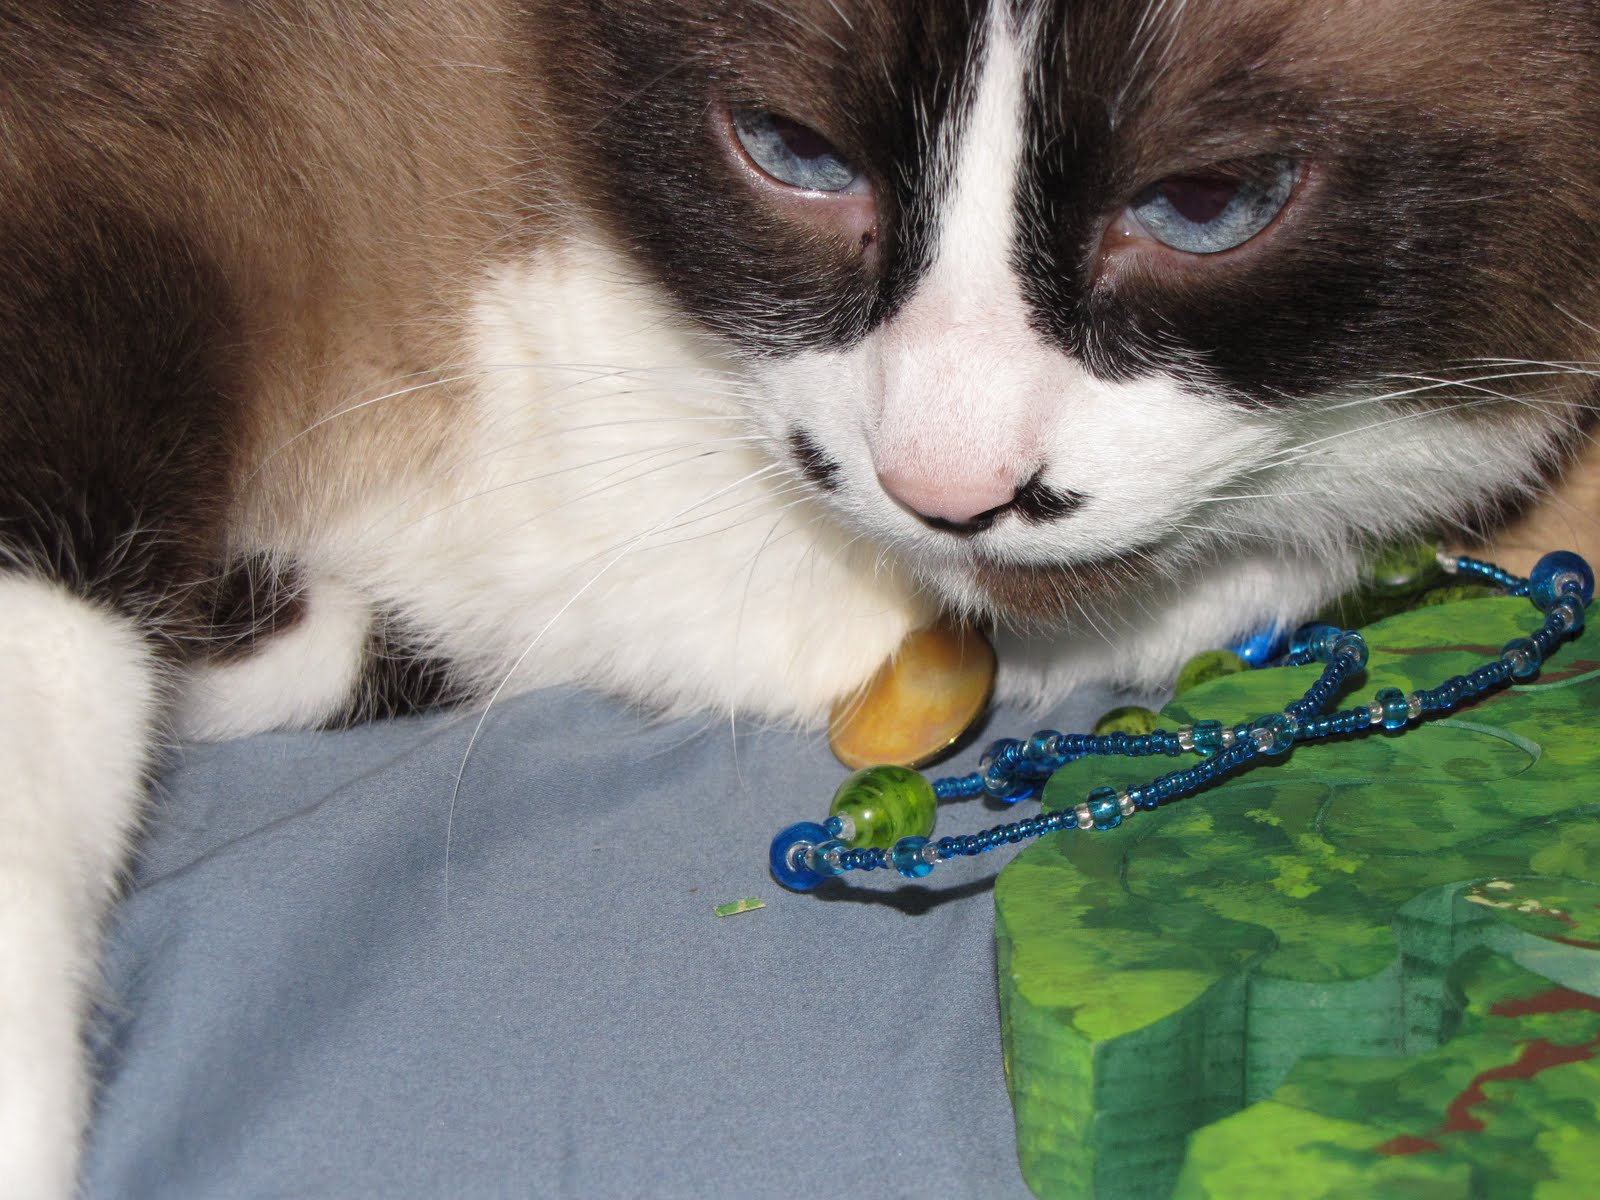
The final necklace I made on Saturday was a mixture of crazed earthenware pieces, black glass round beads, mirrored grey tiny seed beads, and a large quartz pendent. I know I'll get a lot of use out of this set!Albert decided to inspect the goods as I was taking pictures.On Sunday, I was sifting through my larger glass beads, and decided to make something out of these aquamarine faceted glass beads I bought several years ago. I used some pearlized seed beads and some of the left over glass jade coloured beads from the second necklace I made on Saturday. It's kind of Flintstones-esque but I think it's purty.
The second set on Sunday used up the rest of the rose-coloured glass beads from the first necklace on Saturday, as well as a rose-coloured glass pendent. I think it's awefully pretty!
The final piece I made on Sunday used this beautiful raspberry-coloured quartz pendent as its center-piece. While the glass beads aren't an EXACT colour match, they were close enough to not be distracting. I love it, and actually wore it to work today (it's a much lighter colour than it appears in the pictures).
Every six months or so, I get the itch to just bead and bead and bead and bead. And then I lose interest and move onto some other craft. I wonder how long I'll remain on this kick :o) I should make some Christmas gifts while I'm feeling it!

Tuesday, August 17, 2010

No More Peeping Toms*

The property my house sits on is L-shaped, with neighbours on both sides. Both of the neighours have houses that are set further back than my house, so they have prime-views of the windows on the back side of the house. Before the neighbours to the left moved in, John and I went to look at the place with our realtor to see what they could see, and were happy that they really couldn't see much. The neighbour on the left side, who knows what they can see. Regardless, I never feel quite right leaving windows un-dressed, so as soon as we moved in, I installed blinds and curtains.
The sliding glass door into the back yard presented another problem, because it's really tall (89") and quite narrow (56"). I got some curtains installed, and they were quite delightfully oppressive in their light control. But you know, sometimes, I don't like living in a dark cave.
I installed some Gila Privacy Glass Film to the downstairs bathroom window last year, and had a ton of it left over, so it occurred to me to install some of that on the sliding glass doors. I didn't want to completely obstruct the ability to look outside, though, because then I'd have to OPEN THE DOOR when prowlers were about to verify that prowlers were indeed about, and the kitties would revolt because they could no longer watch the lizards crawl around the rock retaining wall in the backyard. All the windows in the house have a faux panes that divide the windows into several smaller panes. So I decided I would mimic that by cutting eight equally-sized blocks from the film, and applying those to the window, leaving a slight gap between each, creating a "pane." I figured each block should be 11.5" x 21" which would leave around 2/3" between blocks and frame--large enough to see out of when you're standing close to the door, but small enough that the neigbours wouldn't be able to make out much detail when looking through them. This is the first window:
And this is what both windows looked like, finished.
All in all, it was a very simple project, and I think it adds a lot of character. And now I'll be able to keep the curtains open without worrying that the neighbours are watching me do cart wheels in the kitchen (HAH!) AND I don't have to look at the u g l y backyard.
*I'm not saying the neighbours are Peeping Toms. I'm just saying that I felt vulnerable and exposed and paranoid that everyone was watching what I was doing.

Thursday, July 1, 2010

It LIIIIIVES!!!!!!!!!!!!!!

By and large, the house is severely lacking in storage. In the three bedroom house, there are exactly three closets--that's it. There's no linen closet. There's no utility closet. Instead of making a closet underneath the stairs on the inside of the house, there's a closet on the outside. The vacuum cleaner, broom, carpet cleaner, etc are all "discretely" tucked behind trash containers and corners. In the flurry of house-buying oblivion, we didn't notice the lack of closets. A year later, we lament the lack.
One of the problem areas has been the foyer. We don't have a convenient spot to put keys and mail and incidentals, so they wind up other places and are easily lost. Last November, John and I decided to rectify that by building a console table. This was the original design:
We decided to use the Kreg Pocket Hole Jig that John had picked up previously. We bought some furniture-grade birch plywood, cut it down the dimension with the table saw. We first tested the straightness of the cuts by dry-assembling it with clamps.
Then we set up the jig and got to drilling.
The jig is incredibly easy to use.
We got the top, bottom and sides put together in short order. We cut the back panel. A few weeks prior, we were at Habitat for Humanity's ReStore, and found some pretty nice plain drawers (lacquered plywood with a melamine-coated Masonite bottom). I'm pretty sure they were intended to be kitchen cabinet drawers, but they'd work just fine for the console table. They were marked at $4 each, but were on sale for 50% off, so $4 for drawers was definitely do-able. The only problem was that the drawers were about 5 inches too long and wide, but we figured it'd be easy enough to disassemble them, cut them to size, and reassemble them. We got the first drawer done with no issues--it fit perfectly! The second drawer, I mis-measured, and we cut it the wrong size. Frustrated, we put the project on hold until we could buy a third drawer. A week or so later, we bought a third drawer and set it on top of the frame. And pushed the project off to the side of the garage, where it sat unfinished.
I was working on other projects and kept meaning to finish the console, but the thought of doing it myself was a bit daunting. Finally, I bucked it up in May, and drug the four-sided carcass to the work table. First thing I did was attach the back, which make it ever so much more stable and ever so much more HEAVY. I measured the correctly-sized drawer and cut the third drawer to match. Then I put the drawers into the table, expecting them to fit marvelously well. They didn't. In our measurements, we failed to take into consideration the inset back panel, so the drawers were about an inch too long. So, I disassembled both drawers (marking everything as I went so I wouldn't cut too much again!), made the corrections, reassembled them, and happily rejoiced when they fit.
At about this time, I also decided to attach the pine molding I had purchased for the project. I got it attached to the "top" of the cabinet, only to realize I had actually attached it upside down from what I had intended, and the glue had already set, so there was no way I'd be able to take it off without making a big mess. So what was once the bottom of the table became the top of the table. And I realized I hadn't measured correctly, and wouldn't have enough of the molding to finish the bottom. I took a trip to the lumber yard near my work and asked if they stocked pine molding with a cove edge. Nope. They could order me some alder molding with a cove edge.
After I got the bottom molding attached, I decided to modify my design and put the drawers on the bottom of the table. I also decided to add a little cubby between the drawers.
I used the Kreg jig to attach the two side pieces to the bottom, and also the middle shelf to the entire unit.I had loads of thinly shaved hard maple strips lying around from my brother in law's Christmas present, so I thought I could use those strips as edge-banding to cover the raw plywood edges of the table. I had more hard maple shorts lying around (they were cheap at the lumber yard!) and thought they'd make nice drawer fronts. I got those cut down to size and dry-fitted them.
After I was mostly satisfied with the assembly, I used stainable wood filler to cover brad marks and cracks.
When it was dry, I scraped off the excess.
And started a sanding regime. 80, 100, 150, 200 grit sand paper. Thank goodness for random orbital sanders! After I wiped it down with a wet rag, it was ready to stain.
I turned to my old reliable Red Mahogany stain (since it's what I have!). This is what it looked like after the first coat:
Unfortunately, the "stainable" wood filler wasn't all that stainable on the molding, so it's really obvious where the brads are. At that point, I was tired and flustered, so I decided to put a second coat on, paying special attention to the filled areas. After the second coat, they filler-spots are still there, but they're not as noticeable and my f-it attitude got the best of me, so I decided to just seal the f-er.
I put three coats of poly on the inside, sides, molding, drawer fronts, and legs. For the table top and the top of the shelf, I added three additional poly coats--just for good measure.
This is what the behemoth looks like, fully assembled:
It's HUGE!!!!!! Like, really really really big. I think I'm going to cut the legs down two more inches so it'll stand at counter height, and the ottomans will just fit underneath.
In my haste to get it into the house (by myself! I didn't want to ask John or Josh to help!), I accidentally chipped the molding on the top left hand corner of the piece. The SIX coats of poly were thick enough to keep the piece attached, so I'll have to glue it and then refinish it a bit. I call it my Frankenstein Console Table (hence the title of this post) because it's got birch, maple, alder, pine, and Douglas fur. I'm quite proud of myself for getting this huge thing made, mostly by myself. It was most certainly a learning project for me. I know that I need to make much more detailed plans before I begin a project, I know I need to measure not once twice or three times but four times before cutting, I know I need to make accurate calculations of materials needed before I set about cutting things up. Best of all, I know I can make a pretty nifty piece of furniture, all by myself. My mom tells me my great great grandfather was an expert furniture maker...I guess I've got a bit of that in my blood :o)

Tuesday, June 29, 2010

2009 Family Christmas Ornaments

As I have mentioned, my grandmother made beautiful beaded Christmas ornaments. Each year, all of her grandchildren could pick out a single ornament from her bevy of creations. As a child, this was a fun tradition, and now as I look at my amassed collection as an adult, it makes me feel a bit more connected to my grandparents.


Last October, I decided I would take a stab at making my own ornaments for my family. First, I designed what I wanted them to look like. I used Microsoft Word, so nothings to scale and I made some design tweaks when I actually made them. I decided to use silver sequins of varying size, white pearl beads, seed beads, silver stick pins, and black velvet ribbon.

And copious amounts of GLUE. Now, before I started on the first ornament, I had a healthy appreciation for the beautiful ornaments my grandmother so lovingly created. As my calloused thumb pushed the final pin into the final ornament, I had a healthy appreciation for the dedication and pure insanity of my grandmother. Wowie wow wow. It took me something like three weeks to make all of the ornaments. I figure I worked on them about 2-3 hours a day, 5 days a week. Wowie wow wow. And I'm not even as meticulous as my grandma was! I didn't CARE if there were exactly the same number of pearls on each ornament! She would count beads and measure distances! Sheesh. I also discovered that not many craft/hobby stores carry a decent selection of Styrofoam shapes and sequins. I bought out the entire selection of sequins and push pins at two different Joanns and had to go back two more times. Sheesh!

But, as I pushed the last pin in, I was very proud of the ornaments, and I know my siblings, parents, and aunt and uncle will appreciate them.

The basic design of the ornaments stayed the same; I just changed the colour of the seed bead to reflect the favourite colour of the recipient. My mom said she preferred ruby, emerald, and Sapphire, while my dad preferred emerald.For my maternal uncle and aunt, I used lovely blue seeds.My oldest brother got another blue ornament, and my sister in law got green. My young nephew, who might or might not have a favourite colour, got an ornament with Denver Broncos colours (his ornament was smaller, and I didn't use an velvet on it--just pearls, sequins, and seed beads). My brother Mark said he preferred browns and grays, so his ornament was tone-on-tone silver.
My sister's favourite colour is red, while my brother in law's is dark Trojan red.

John's was in his Broncos colours.I still haven't made my ornament. When I ran out of silver sequins and velvet ribbon, I made a pink (PINK!!!) starburst ornament. I've had those pearlized pink beads for 15 years and never made anything out of them, even though I've always thought they were pretty. So I decided to use them on the ornament. While pink's not my favourite colour, I sure do think it's a pretty ornament. Click for more blurry, out of focus, low light pictures.

Thursday, June 24, 2010

Gabe's Christmas Puzzles

As the saying goes, the road to hell is paved with good intentions. My road is *very* well paved.
As you might recall, I had that BRILLIANT idea of doing a home-made Christmas with my family. Here it is, the middle of June, and I've FINALLY gotten all of my Christmas 2009 gifts sent to their respective recipients. When I hatched my BRILLIANT plan of making all of these Christmas presents, the responsibility was being shared with someone else. I got my part of the presents largely done before or slightly after Christmas, while I (im)patiently waited for the other person to do their part. Ish happened, and suddenly I was wholly responsible for getting everything done. So that's why it's taken THIS LONG to get everything done.
So, my young, impossibly adorably cute nephew loves Thomas the Tank Engine, as any sane little child ought to. Because, really, Thomas is awesome (I'll admit to watching some Thomas well past the "appropriate" "intended" age of consumption). I'm also a fan of gifts for kids that don't involve batteries or those that zap the creative imagination of childhood. I remember really really really really really really really loving board puzzles when I was a kid, and I decided that I would make a board puzzle for my impossibly adorably cute nephew.
I took some 1/4" Masonite/hardboard and cut it down to a rough 9"x11" rectangle. I found a nice picture of Thomas, and, using standard craft grade acrylic paint, I transferred the image onto the Masonite. I think I painted two layers of paint, and then an acrylic pen to make an outline of Thomas.
I slathered Thomas with several coats of Modge Podge, and then used my trusty scroll saw to freehand puzzle shapes. By Christmas, the puzzle was ready to ship out.
As the months after Christmas wore on, I started to feel really guilty about sending a single puzzle out. And then I remembered that my favourite board puzzles were those board puzzles that were on an actual board. So I decided I would make a board for my Thomas puzzle.
Using more Masonite, I cut a board about 1/2" larger on all sides than the original puzzle, and then cut 1/2" strips of Masonite. I glued those strips onto the perimeter of the board, and clamped them until everything was dry. After a light sanding, I spray painted the board with a white satin paint. Marvelous!
And then as the months continued to wear on, I decided I should (and could) make a second puzzle. Knowing my sister in law's love of the Denver Broncos, I decided to paint the logo into another board puzzle. I used the same steps as the Thomas puzzle, but instead of Mod Podge, I went over it with some varnish (it'll probably turn the white paint yellow over time, but it's a more permanent solution than Mod Podge).
After the puzzles and the boards were ready, I realized that they might be a bit difficult for a two-almost-three-year-old. So I traced the shape of each puzzle piece on the white board using a permanent marker. This is the Broncos board:
And this is the Thomas board:
And this is Thomas the Tank Engine, assembled on his board.
And this is the Broncos logo, assembled on its board:
All in all, I'm pretty darned proud of how the puzzles turned out. I think I'll make more in the future. Just not for Christmas 2010!

Wednesday, June 9, 2010

Puzzling Time

Last fall during the beginning woodworking class John and I were taking through the local CC, we were introduced to the Scroll Saw. I immediately decided that I liked the scroll saw, and that it and I would become best buddies. I liked that I could easily cut circles and waves, that it was relatively safe to use, and didn't take a lot of know how. I also liked that I wasn't confined to a pattern and measurements, as it's a much more free-form type of woodworking. The teacher had an unused scroll saw he had acquired when he purchased a bunch of equipment from a retiring woodworker, and offered to sell the saw at a deeply discounted rate. SOLD. It even looked a little bit like the Starship Enterprise, so it became my new little baby. So cute!
I started doing a little research into scroll saws, and found that many they were a huge fad a number of years ago, so there were TONS of resources available. About this same time, I hatched the HOMEMADE CHRISTMAS PRESENT plan with my siblings. I know my brother Mark really really really enjoys puzzles, so I thought I'd make him a puzzle. I Googled for inspiration, and came across this idea. I was smitten, and decided Mark would love a puzzle like that. Being ballsy and stupid, I didn't bother to read the instructions or print up the pattern; I just free handed it, and this is the result:Not too shabby, and I was awefully proud of it, if I do say so myself. Now that my brother is enjoying his Christmas present (so I shipped it off 5 months late? So what!), I decided to post about it. And then I also decided to make another one, for a Secret "Santa" exchange at an online community. I made a few reasonable changes in my method to accommodate the insane amount of time it took me to complete my brother's puzzle, and documented the procedure for posterity (certainly not for prosperity).
First, I took a 11" x 8" x 3/4" plank of pine, found the center line, and sketched out a rough tree-shape. Trying to keep the pattern centered is important to keep the puzzle balanced when it's standing up.I cut off large chunks of wood using the band saw, to make it easier to cut the pattern on the scroll saw. Also because I like the band saw, and never use it. It looked lonely, shoved off in the corner of the garage.
After I was satisfied with the band saw efforts (damned blade kept angling off to the side!---now I understand why it's shoved off into the corner of the garage!), I took the plank over to the scroll saw and started hacking away at the pattern.
Again, the appeal of the scroll saw to me is that I don't really have to follow the pattern, so I used it as a rough guideline for the basic shape of the puzzle. The only important thing was that the base and the trunk would fit together snugly when assembled. And it did! Next was sanding. First I used the random orbital sander with 80grit and then 150grit sand paper. I did both sides of the tree form.Then I broke out the paper and sanding pads, in 80, 100, and 150 grits to sand the outside edges of the tree, as well as the base.Sanding pads make sanding curves SO much easier. The person who first thought of them is my hero. I only wish I'd had them when I was refurbishing the wood chairs I bought from ReStore. When I was satisfied the plank was nicely sanded, I dusted it off, and used a damp rag to remove any lingering saw dust.

Now this is where my tutorial for this puzzle and the original tutorial (and how I did my brother's puzzle) diverge--rather than cut out the individual puzzle pieces now, I decided to paint the puzzle. The blade on the scroll saw is so fine, that I wasn't too worried about chip out from cutting into the painted surface, and it wouldn't be anything that a quick touch up would be able to handle. I decided to paint now because painting the individual pieces was a HUGE time suck, and painting it as a whole would give me the opportunity to make a more realistic looking puzzle.
I loaded three shades of green onto my paint "palette"--a bright green, a true green, and a ruddy green. I just used standard craft acrylic paint, because that's what I had on hand it and it was suited to the project.

Using a large flat brush, I splotched the paint onto the surface, dragging my brush through all three colours at the same time. I wasn't too worried about pattern, as I was more interested in creating background shading for the final treatment.

After the initial coat was dry, I picked up a smaller flat brush, dipped it in one of the shades, and dappled it onto the splotched surface. when the paint was running dry on the brush, I would dip it into a different shade, and add that colour to the area that was still wet. I added some yellow paint, as well, to work as a highlight colour.

I tried to keep the pattern as loose as possible, to make it look random and more realistic. When the first side was done, I painted the reverse side, using the same technique. I also painted the edge of the tree shape the same way.

Next was painting the trunk and adding some visible branches. For that, I used two colours of brown: a true brown, and a tinted brown. The true brown was the base, and I used the tinted brown to make the highlights/squiggly lines to simulate bark. I did front, back, sides, and the base. I tried as much as possible to mirror the branches near where the trunk met the leaves on both sides of the puzzle.

I waited 24 hours to make sure the paint and wood were bone dry. Then I took the plank out to the scroll saw, and free handed a puzzle pattern. The only trick here was to make sure the outside pieces and the trunk linked together snugly, to ensure that when the puzzle was standing, there was a solid band around the perimeter that would prevent it from falling apart. I also cut out some random negative space within the puzzle, and trashed those pieces--it would make the puzzle even more difficult to assemble.

I took the puzzle back in, and used the true green and true brown paints to paint the inside edges of the newly cut puzzle pieces. I didn't worry too much about sanding, as the scroll saw blade was supa fine. I also didn't worry about making the inside pieces realistic, as I thought it would make the puzzle WAY TOO HARD if you couldn't clearly tell which pieces were the boarder (I had to reassemble the puzzle, after all). Unfortunately, I didn't a picture of this. The only picture I have that shows the painted inside edges is one that incidentally shows them. Albert was being cute.

I didn't want the added heft of lacquer since some of the pieces were VERY snug when put together and I didn't have a whole lot of time to wait for coats to dry, so I decided to use outdoor Mod Podge, since it's waterproof.


Bad idea. The glue-qualities of the Mod Podge made the pieces stick together very uncomfortably. So I decided to use a clear coat spray paint in a matte finish. Worked like a charm. This was the finished product:

Even after making it myself, it takes me about 30 minutes to complete it. It's especially hard because both sides of the puzzle were painted the same way. All in all, I think this is the start of my scroll saw puzzle hobby :o) Click for more pictures of the process.