
Last fall during the beginning woodworking class John and I were taking through the local CC, we were introduced to the Scroll Saw. I immediately decided that I liked the scroll saw, and that it and I would become best buddies. I liked that I could easily cut circles and waves, that it was relatively safe to use, and didn't take a lot of know how. I also liked that I wasn't confined to a pattern and measurements, as it's a much more free-form type of woodworking. The teacher had an unused scroll saw he had acquired when he purchased a bunch of equipment from a retiring woodworker, and offered to sell the saw at a deeply discounted rate. SOLD. It even looked a little bit like the Starship Enterprise, so it became my new little baby. So cute!
I started doing a little research into scroll saws, and found that many they were a huge fad a number of years ago, so there were TONS of resources available. About this same time, I hatched the HOMEMADE CHRISTMAS PRESENT plan with my siblings. I know my brother Mark really really really enjoys puzzles, so I thought I'd make him a puzzle. I Googled for inspiration, and came across this idea. I was smitten, and decided Mark would love a puzzle like that. Being ballsy and stupid, I didn't bother to read the instructions or print up the pattern; I just free handed it, and this is the result: Not too shabby, and I was awefully proud of it, if I do say so myself. Now that my brother is enjoying his Christmas present (so I shipped it off 5 months late? So what!), I decided to post about it. And then I also decided to make another one, for a Secret "Santa" exchange at an online community. I made a few reasonable changes in my method to accommodate the insane amount of time it took me to complete my brother's puzzle, and documented the procedure for posterity (certainly not for prosperity).
Not too shabby, and I was awefully proud of it, if I do say so myself. Now that my brother is enjoying his Christmas present (so I shipped it off 5 months late? So what!), I decided to post about it. And then I also decided to make another one, for a Secret "Santa" exchange at an online community. I made a few reasonable changes in my method to accommodate the insane amount of time it took me to complete my brother's puzzle, and documented the procedure for posterity (certainly not for prosperity).First, I took a 11" x 8" x 3/4" plank of pine, found the center line, and sketched out a rough tree-shape. Trying to keep the pattern centered is important to keep the puzzle balanced when it's standing up. I cut off large chunks of wood using the band saw, to make it easier to cut the pattern on the scroll saw. Also because I like the band saw, and never use it. It looked lonely, shoved off in the corner of the garage.
I cut off large chunks of wood using the band saw, to make it easier to cut the pattern on the scroll saw. Also because I like the band saw, and never use it. It looked lonely, shoved off in the corner of the garage. After I was satisfied with the band saw efforts (damned blade kept angling off to the side!---now I understand why it's shoved off into the corner of the garage!), I took the plank over to the scroll saw and started hacking away at the pattern.
Again, the appeal of the scroll saw to me is that I don't really have to follow the pattern, so I used it as a rough guideline for the basic shape of the puzzle. The only important thing was that the base and the trunk would fit together snugly when assembled.  And it did! Next was sanding. First I used the random orbital sander with 80grit and then 150grit sand paper. I did both sides of the tree form.
 Then I broke out the paper and sanding pads, in 80, 100, and 150 grits to sand the outside edges of the tree, as well as the base.
 Sanding pads make sanding curves SO much easier. The person who first thought of them is my hero. I only wish I'd had them when I was refurbishing the wood chairs I bought from ReStore. When I was satisfied the plank was nicely sanded, I dusted it off, and used a damp rag to remove any lingering saw dust.
 Now this is where my tutorial for this puzzle and the original tutorial (and how I did my brother's puzzle) diverge--rather than cut out the individual puzzle pieces now, I decided to paint the puzzle. The blade on the scroll saw is so fine, that I wasn't too worried about chip out from cutting into the painted surface, and it wouldn't be anything that a quick touch up would be able to handle. I decided to paint now because painting the individual pieces was a HUGE time suck, and painting it as a whole would give me the opportunity to make a more realistic looking puzzle.
I loaded three shades of green onto my paint "palette"--a bright green, a true green, and a ruddy green. I just used standard craft acrylic paint, because that's what I had on hand it and it was suited to the project.
 Using a large flat brush, I splotched the paint onto the surface, dragging my brush through all three colours at the same time. I wasn't too worried about pattern, as I was more interested in creating background shading for the final treatment.
 After the initial coat was dry, I picked up a smaller flat brush, dipped it in one of the shades, and dappled it onto the splotched surface. when the paint was running dry on the brush, I would dip it into a different shade, and add that colour to the area that was still wet. I added some yellow paint, as well, to work as a highlight colour.
 I tried to keep the pattern as loose as possible, to make it look random and more realistic. When the first side was done, I painted the reverse side, using the same technique. I also painted the edge of the tree shape the same way.
 Next was painting the trunk and adding some visible branches. For that, I used two colours of brown: a true brown, and a tinted brown. The true brown was the base, and I used the tinted brown to make the highlights/squiggly lines to simulate bark. I did front, back, sides, and the base. I tried as much as possible to mirror the branches near where the trunk met the leaves on both sides of the puzzle.
 I waited 24 hours to make sure the paint and wood were bone dry. Then I took the plank out to the scroll saw, and free handed a puzzle pattern. The only trick here was to make sure the outside pieces and the trunk linked together snugly, to ensure that when the puzzle was standing, there was a solid band around the perimeter that would prevent it from falling apart. I also cut out some random negative space within the puzzle, and trashed those pieces--it would make the puzzle even more difficult to assemble.
 I took the puzzle back in, and used the true green and true brown paints to paint the inside edges of the newly cut puzzle pieces. I didn't worry too much about sanding, as the scroll saw blade was supa fine. I also didn't worry about making the inside pieces realistic, as I thought it would make the puzzle WAY TOO HARD if you couldn't clearly tell which pieces were the boarder (I had to reassemble the puzzle, after all). Unfortunately, I didn't a picture of this. The only picture I have that shows the painted inside edges is one that incidentally shows them. Albert was being cute.
 I didn't want the added heft of lacquer since some of the pieces were VERY snug when put together and I didn't have a whole lot of time to wait for coats to dry, so I decided to use outdoor Mod Podge, since it's waterproof.
 Bad idea. The glue-qualities of the Mod Podge made the pieces stick together very uncomfortably. So I decided to use a clear coat spray paint in a matte finish. Worked like a charm. This was the finished product:
 Even after making it myself, it takes me about 30 minutes to complete it. It's especially hard because both sides of the puzzle were painted the same way. All in all, I think this is the start of my scroll saw puzzle hobby :o) Click for more pictures of the process.
And it did! Next was sanding. First I used the random orbital sander with 80grit and then 150grit sand paper. I did both sides of the tree form.Then I broke out the paper and sanding pads, in 80, 100, and 150 grits to sand the outside edges of the tree, as well as the base.Sanding pads make sanding curves SO much easier. The person who first thought of them is my hero. I only wish I'd had them when I was refurbishing the wood chairs I bought from ReStore. When I was satisfied the plank was nicely sanded, I dusted it off, and used a damp rag to remove any lingering saw dust. Now this is where my tutorial for this puzzle and the original tutorial (and how I did my brother's puzzle) diverge--rather than cut out the individual puzzle pieces now, I decided to paint the puzzle. The blade on the scroll saw is so fine, that I wasn't too worried about chip out from cutting into the painted surface, and it wouldn't be anything that a quick touch up would be able to handle. I decided to paint now because painting the individual pieces was a HUGE time suck, and painting it as a whole would give me the opportunity to make a more realistic looking puzzle.
I loaded three shades of green onto my paint "palette"--a bright green, a true green, and a ruddy green. I just used standard craft acrylic paint, because that's what I had on hand it and it was suited to the project.
 Using a large flat brush, I splotched the paint onto the surface, dragging my brush through all three colours at the same time. I wasn't too worried about pattern, as I was more interested in creating background shading for the final treatment.
 After the initial coat was dry, I picked up a smaller flat brush, dipped it in one of the shades, and dappled it onto the splotched surface. when the paint was running dry on the brush, I would dip it into a different shade, and add that colour to the area that was still wet. I added some yellow paint, as well, to work as a highlight colour.
 I tried to keep the pattern as loose as possible, to make it look random and more realistic. When the first side was done, I painted the reverse side, using the same technique. I also painted the edge of the tree shape the same way.
 Next was painting the trunk and adding some visible branches. For that, I used two colours of brown: a true brown, and a tinted brown. The true brown was the base, and I used the tinted brown to make the highlights/squiggly lines to simulate bark. I did front, back, sides, and the base. I tried as much as possible to mirror the branches near where the trunk met the leaves on both sides of the puzzle.
 I waited 24 hours to make sure the paint and wood were bone dry. Then I took the plank out to the scroll saw, and free handed a puzzle pattern. The only trick here was to make sure the outside pieces and the trunk linked together snugly, to ensure that when the puzzle was standing, there was a solid band around the perimeter that would prevent it from falling apart. I also cut out some random negative space within the puzzle, and trashed those pieces--it would make the puzzle even more difficult to assemble.
 I took the puzzle back in, and used the true green and true brown paints to paint the inside edges of the newly cut puzzle pieces. I didn't worry too much about sanding, as the scroll saw blade was supa fine. I also didn't worry about making the inside pieces realistic, as I thought it would make the puzzle WAY TOO HARD if you couldn't clearly tell which pieces were the boarder (I had to reassemble the puzzle, after all). Unfortunately, I didn't a picture of this. The only picture I have that shows the painted inside edges is one that incidentally shows them. Albert was being cute.
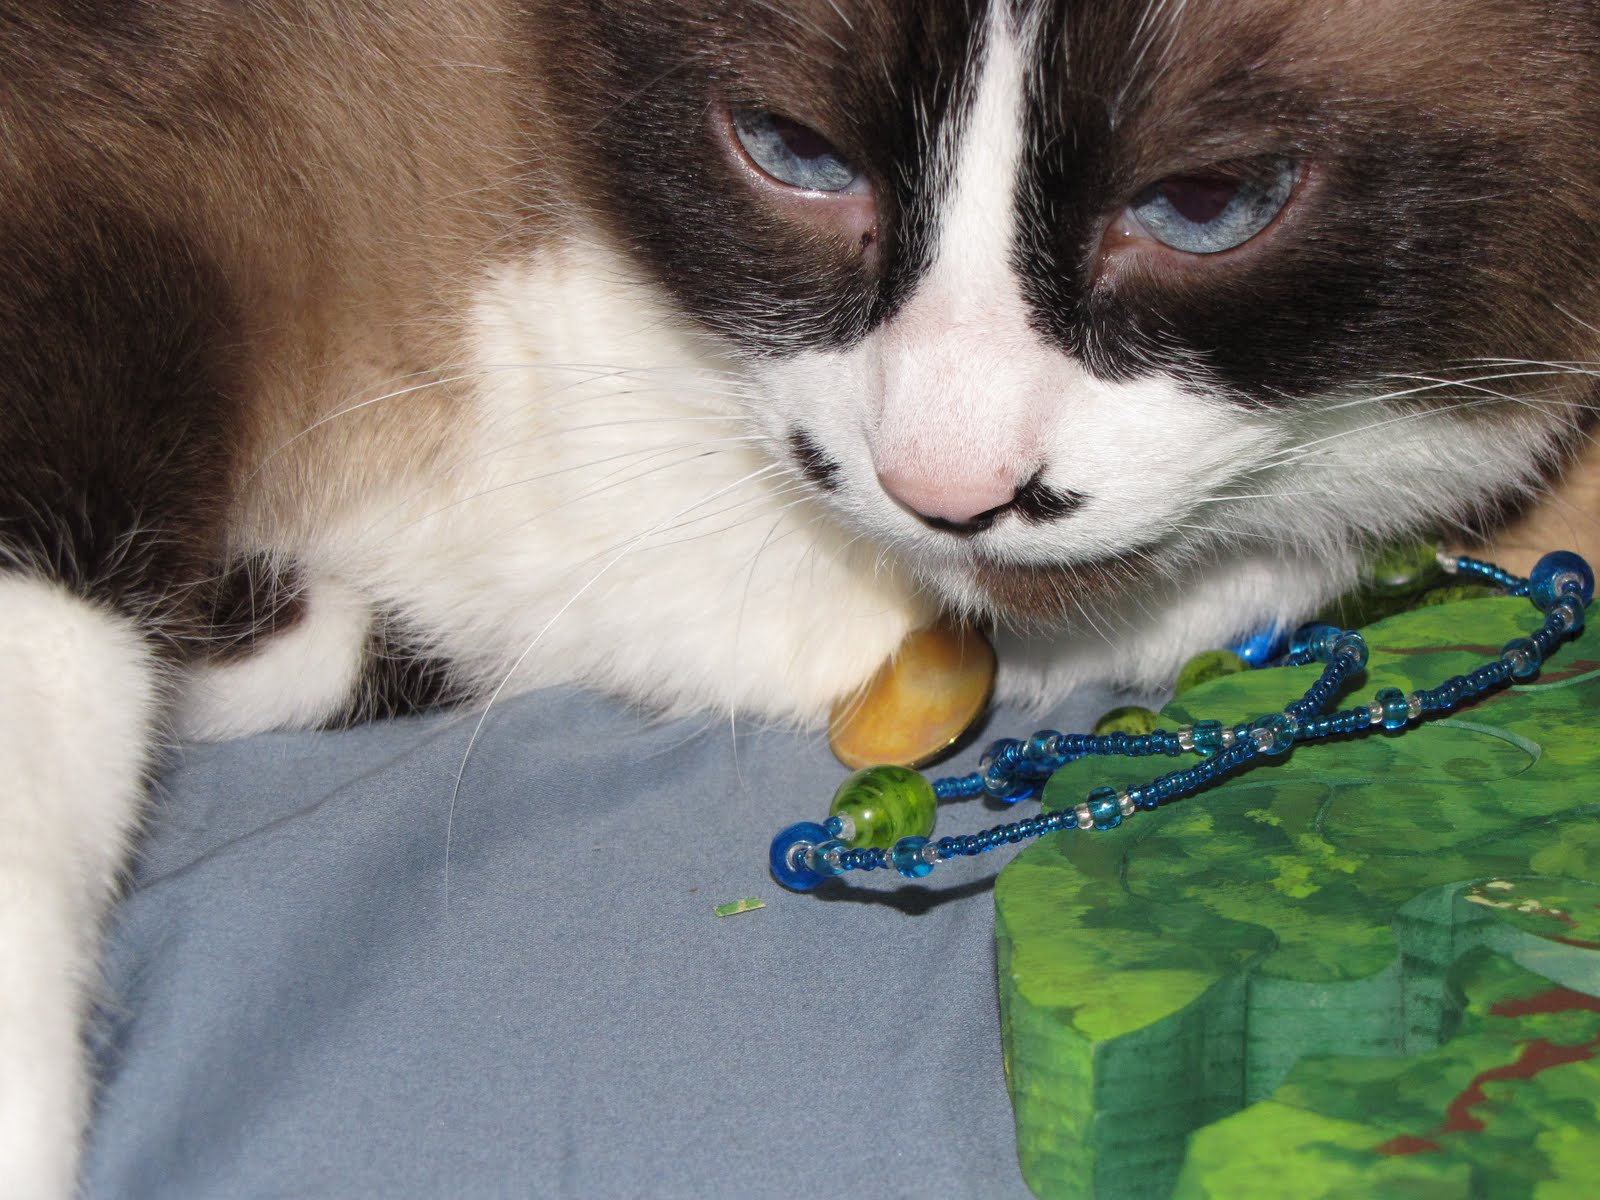 I didn't want the added heft of lacquer since some of the pieces were VERY snug when put together and I didn't have a whole lot of time to wait for coats to dry, so I decided to use outdoor Mod Podge, since it's waterproof.
 Bad idea. The glue-qualities of the Mod Podge made the pieces stick together very uncomfortably. So I decided to use a clear coat spray paint in a matte finish. Worked like a charm. This was the finished product:
 Even after making it myself, it takes me about 30 minutes to complete it. It's especially hard because both sides of the puzzle were painted the same way. All in all, I think this is the start of my scroll saw puzzle hobby :o) Click for more pictures of the process.
No comments:
Post a Comment